Installation Instructions for OPTIC ARMOR Racing Windshields
Congratulations on your purchase of OPTIC ARMOR RACING WINDSHIELDS. This guide will help you successfully install your OPTIC ARMOR windows. Please follow these steps carefully to ensure proper installation and optimal performance.
Important Notes Before You Begin
- The OPTIC ARMOR window is typically oversized by approximately 1" in all directions. Trimming is required.
- On OEM steel bodies, remove original molding and avoid reusing it unless installing Optic Armor's DIBO windows.
- Always check the window's fit before removing any protective masking. Windows cannot be returned after the masking is removed.
- To prevent cracking due to tire shake or extreme vibrations, use a soft barrier between the window and the body. This is included in OPTIC ARMOR installation kits.
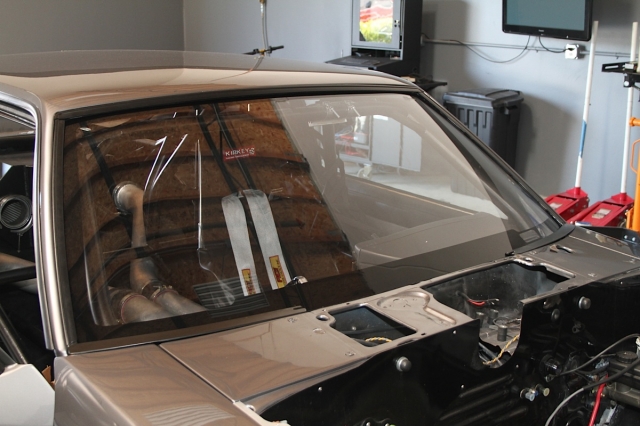
- If installing a 1/8" front windshield, braces are required for center support. Running without braces voids warranty.
Tools You May Need
- Permanent Marker
- 3/8" Hand Drill and Proper Drill Bits
- Counter Sink Tool
- Hand Grinder or Jig Saw/Band Saw
- Handheld Sandblaster or Razor Knife (for blackout)
- 180 Grit Sandpaper (for blackout)
Step 1: Window Preparation

Keep the poly-masking on the window during installation. Trim the masking back approximately 3" from the window edge on both sides. Use a grease pencil for marking on the window. Disregard the two small holes in the window tabs-they are for manufacturing purposes and should be trimmed off.
Step 2: Trimming and Final Fitting
If possible, create or use a template of the window opening for accurate sizing. Trace the template onto the OPTIC ARMOR and cut along the line, staying slightly outside the line for adjustments. Use a power planer and hand grinder for precision fitting. Sand edges smooth with an orbital sander or sanding block.
Step 3: Blacking Out (Optional)
After fitting, the window can be blacked out for adhesive application or aesthetic purposes. Sand or blast off the coating where blacking out is desired to expose the raw LEXAN. Mask the area with 3M Super 88 tape and follow the steps to sand or blast the coating clean. Apply 3M window primer after coating removal.
Step 4: Fastening
Mark fastening points at least 1/2" from the window edge. Space fasteners every 4" for most applications. Use countersunk flat-headed cap screws-DO NOT USE RIVETS. Tighten fasteners from the center outward and use locking nuts on the backside to secure bolts. Avoid over-tightening bolts.
Return Policy
No returns will be accepted without prior authorization. An RGA number must be issued before returning merchandise. Windows cannot be returned if the protective masking has been removed or installation attempted. A 20% restocking fee applies to all returns.
Cleaning
Wash off dirt and debris with water or windshield cleaner before wiping. Avoid allowing dust or sand between the cloth/sponge and the OPTIC ARMOR to prevent scratches.